The Landscape Design Process: What to Expect When Working with a Designer
A comprehensive guide to the landscape design journey from initial consultation to construction. Understand each stage and how to prepare for your project.
Understanding the Landscape Design Process
Commissioning a landscape designer stands as one of the most rewarding investments you can make for your home. A strategic landscape design transforms how you live on your property while significantly increasing its value.
Many homeowners in Melbourne’s north-eastern and inner-eastern suburbs feel unsure about how the process works. You might wonder what actually happens between the first phone call and the day the excavators arrive.
This guide breaks down every stage of professional landscape design. We explain exactly what to expect, the timelines involved, and how to maximize your investment.
Stage 1: Initial Inquiry and Brief Discovery
The process typically begins with a phone call or email where you share basic details about your property. This conversation allows us to determine if your project aligns with our expertise.
The initial discussion is not a formal consultation. It serves as a preliminary filter to ensure we are the right team for your specific needs.
Be prepared to discuss these key details:
- Location and Access: Is your property in a steep area like Ivanhoe or Warrandyte? Access for machinery is a critical early factor.
- The “Why” Now: Are you renovating, fixing a drainage issue, or preparing for a future sale?
- Budget Range: Understanding whether you are looking to spend $50,000 or $250,000 helps us advise on feasibility immediately.
- Timeline: Do you have a specific deadline, such as a wedding or Christmas event?
We find that transparency at this stage prevents wasted time later. A clear budget expectation allows the designer to confirm if your wishlist is achievable.
Stage 2: The On-Site Consultation
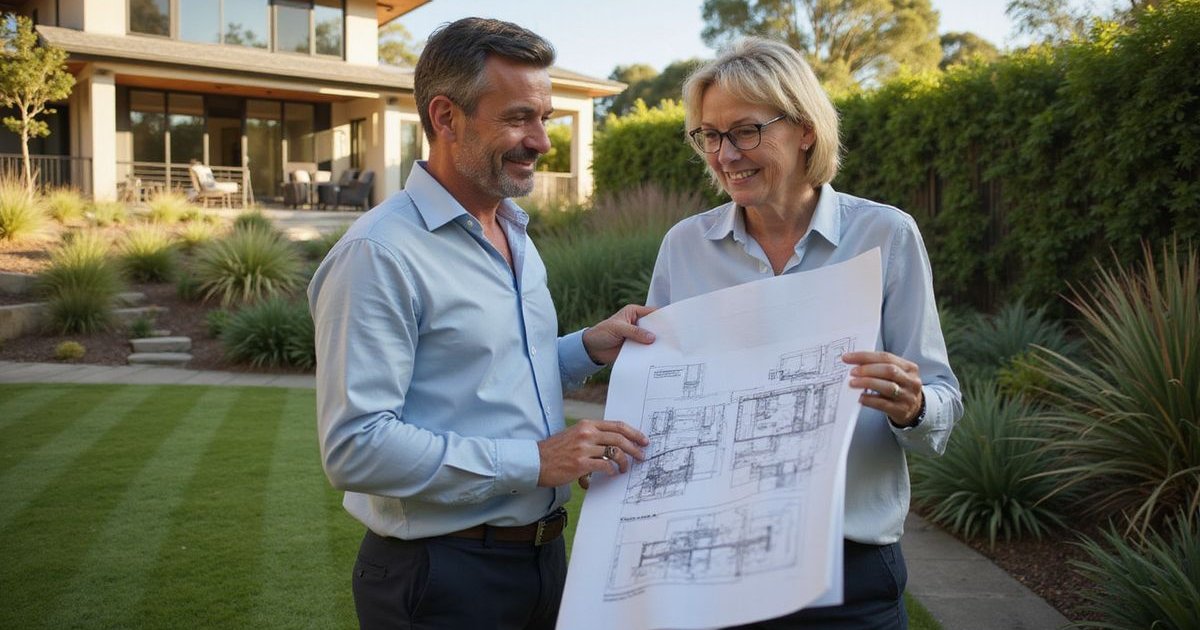
The site consultation marks the true beginning of the design phase. A designer visits your home to assess the physical characteristics of the land and discuss your vision in depth.
This meeting is critical for properties with complex terrain. Sloping blocks common in the eastern suburbs require careful engineering and drainage planning.
What your designer assesses on site:
- Orientation: We analyze how the sun moves across your yard in winter versus summer to position entertaining areas correctly.
- Topography: Laser levels or visual assessments determine the grade of slopes and the need for retaining walls.
- Soil Quality: Identifying if you have the heavy Silurian clay common in the north-east or sandy loam helps dictate plant selection.
- Existing Vegetation: We check for significant trees that may be protected by council Vegetation Protection Overlays (VPO).
How to prepare for this meeting:
- Function over Form: Focus on how you want to use the space (e.g., “we need a flat area for kids to play”) rather than specific solutions.
- Maintenance Reality: Be honest about how much time you have for gardening.
- Gather Inspiration: innovative platforms like Pinterest are great, but photos of neighbors’ gardens are better as they show what thrives in your local microclimate.
Stage 3: Concept Design Development
Your designer returns to the studio to create concept options after analyzing the site. This phase synthesizes the site analysis with your brief to explore spatial arrangements.
The Concept Plan usually includes:
- Overall layout and spatial flow
- Hardscape locations (decks, paving, pools)
- Zoning for different activities
- Indicative material palette (e.g., bluestone vs. travertine)
- General planting themes
Most designers present two distinct options. We use this method to test different approaches to your brief. You do not need to choose one plan over the other.
Key questions to ask during the review:
- “Does this layout solve our main drainage or privacy issues?”
- “Is the scale of the entertaining area sufficient for our typical guest count?”
- “How does this design account for the mature gum tree in the corner?”
Honest feedback is essential here. Changes are simple to make on paper but expensive to make once concrete is poured.
Stage 4: Design Development and Planning Permits
The selected concept evolves into a detailed design based on your feedback. This stage is where broad ideas become specific, buildable realities.
Refining the details:
- Specific Materials: We finalize the exact stone, timber, and finishes.
- Plant Schedule: Selecting specific species that tolerate Melbourne’s variable climate.
- Lighting Plan: Determining where low-voltage lighting will highlight architectural features.
Understanding Council Requirements:
Properties in Boroondara, Manningham, and Banyule often face strict planning controls. You may trigger a planning permit requirement if your design includes:
- Earthworks or retaining walls over a certain height (often 1 meter).
- Removal of native vegetation or significant trees.
- Structures within close proximity to easements.
- High fences on corner blocks.
We handle the complexities of town planning applications. This ensures your design complies with local permeability rules and canopy coverage requirements.
| Feature | Concept Design | Design Development |
|---|---|---|
| Planting | General look/feel | Specific species & quantities |
| Materials | Broad categories (e.g., Stone) | Exact product (e.g., Bluestone sawn paver) |
| Levels | Indicative grades | Precise heights for construction |
| Permits | Identified triggers | Application submission |
Stage 5: Construction Documentation
Construction documentation translates the pretty pictures into technical instructions. This package is the “instruction manual” for the contractors who will build your garden.
Why this stage saves you money:
Ambiguity is the enemy of budget control. A drawing that simply says “retainer wall” allows a contractor to guess the construction method. A drawing that specifies “heavily galvanized steel H-beam with treated pine sleepers and Ag-pipe drainage” ensures accurate pricing.
The documentation package includes:
- Set-out Plans: Exact dimensions for layout.
- Construction Details: Cross-sections of steps, walls, and pergolas.
- Lighting and Electrical Plans: Circuit layouts and transformer locations.
- Planting Schedules: Botanical names and pot sizes.
Quality documentation prevents the dreaded “variations” during the build. It ensures you get exactly what was designed rather than a contractor’s interpretation.
Stage 6: Tender and Contractor Selection
The project moves to the quoting phase once documentation is complete. You can source your own quotes, or we can recommend trusted landscape constructors we work with regularly.
Evaluating the quotes:
- Compare Apples to Apples: Ensure every contractor is quoting on the exact same specifications provided in the documentation.
- Check Credentials: In Victoria, structural landscaping work costing more than $10,000 must be done by a Registered Building Practitioner.
- Insurance: Projects over $16,000 require domestic building insurance.
We often assist in reviewing these tenders. A quote that is 20% lower than the others often misses a key element like proper drainage or site preparation.
The Value of Professional Design
Working with a landscape designer offers more than just an attractive drawing. You gain an advocate who understands horticulture, engineering, and local council nuances.
A professional design prevents costly mistakes like planting a moisture-loving tree in a dry spot or building a wall that fails after two years. The result is a garden that increases your property value and enhances your daily life.
Ready to start your landscape design journey? Contact us to book an initial consultation and take the first step toward your dream garden.
Tags
David Claude Team
Award-winning landscape design team serving Melbourne's north-eastern suburbs for over 30 years.